ProtonのAuthenticator(オーセンティケーター)と呼ばれる認証アプリをパソコンには導入している。
ただ、スマートフォンではProton Passを重宝してきた。
しかし、某証券会社にログインする際に、GoogleのAuthenticatorをインストールして利用しろという指示があり、ついにスマートフォンにもアプリを導入することにした。
目次
- 1 Proton Authenticatorの配布場所
- 2 Proton AuthenticatorとProton Passの違い
- 3 GoogleからProtonへの切り替え手順
- 3.1 1:Google Authenticatorアプリの設定を開く
- 3.2 2:左上の三から「コードを移行」を開く
- 3.3 3:コードをエクスポートを開く
- 3.4 4:エクスポートしたい2要素を選択しQRコードを保存する
- 3.5 5:Proton Authenticatorアプリを開き「Get Started」を開く
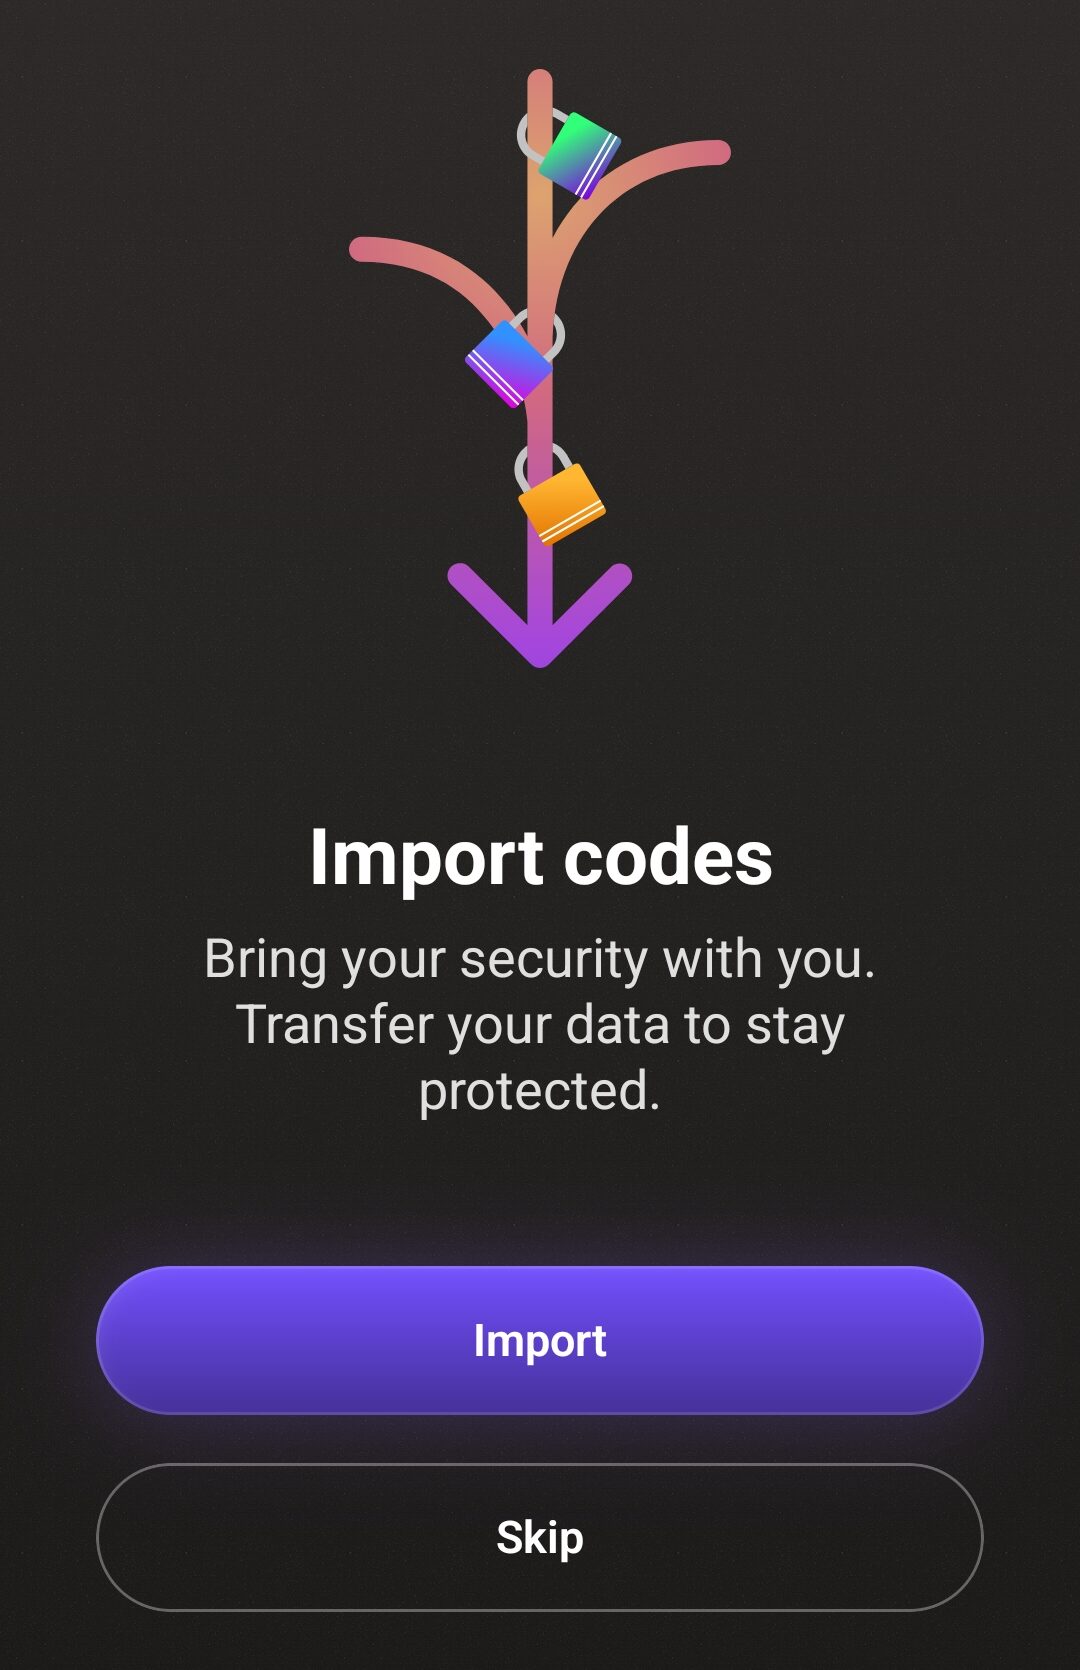
- 3.6 6:「Import」を開く
- 3.7 7-1:「Scan a QR code」を開く
- 3.8 7-2:4で保存したGoogle AuthenticatorのQRを読み取る
- 3.9 7-3:QRコードでのインポートは完了
- 3.10 8-1:Proton Passのデータをエクスポートし、Proton Driveに格納
- 3.11 8-2:「Import Code」を開く
- 3.12 8-3:Proton Passを選択する
- 3.13 8-4:Proton Driveに格納したProton Passのデータをインポート
- 4 Proton Authenticatorへ切り替えできるもの
- 5 Proton Authenticatorの利用にProtonアカウントは不要
Proton Authenticatorの配布場所

パソコン版での導入については簡単に触れているが、スマホアプリはインストールで済む。
パソコン → https://proton.me/ja/authenticator
iphone・ipad →https://apps.apple.com/jp/app/proton-authenticator/id6741758667
Android → https://play.google.com/store/apps/details?id=proton.android.authenticator&hl=ja
Proton AuthenticatorとProton Passの違い
Proton Passは、強力なパスワードを安全に生成・保存し、メールエイリアスやダークウェブモニタリングなどの機能でデジタルアイデンティティを保護するように設計されたパスワードマネージャーです。
また、2要素認証コードを保存し自動入力できる統合認証機能も含まれていますが、Protonアカウントへのログインに使用されるコードは対象外です。
Proton Authenticatorは、ユーザーがProtonアカウントの2要素認証保護を有効にできるスタンドアロンの2要素認証アプリです。
また、希望する場合は2要素認証コードをパスワードとは別に保存することもできます。
私の主な使用用途しては証券会社へのログインで、2要素認証(2FA)として利用している。
GoogleからProtonへの切り替え手順
インストールしたものとして進める。
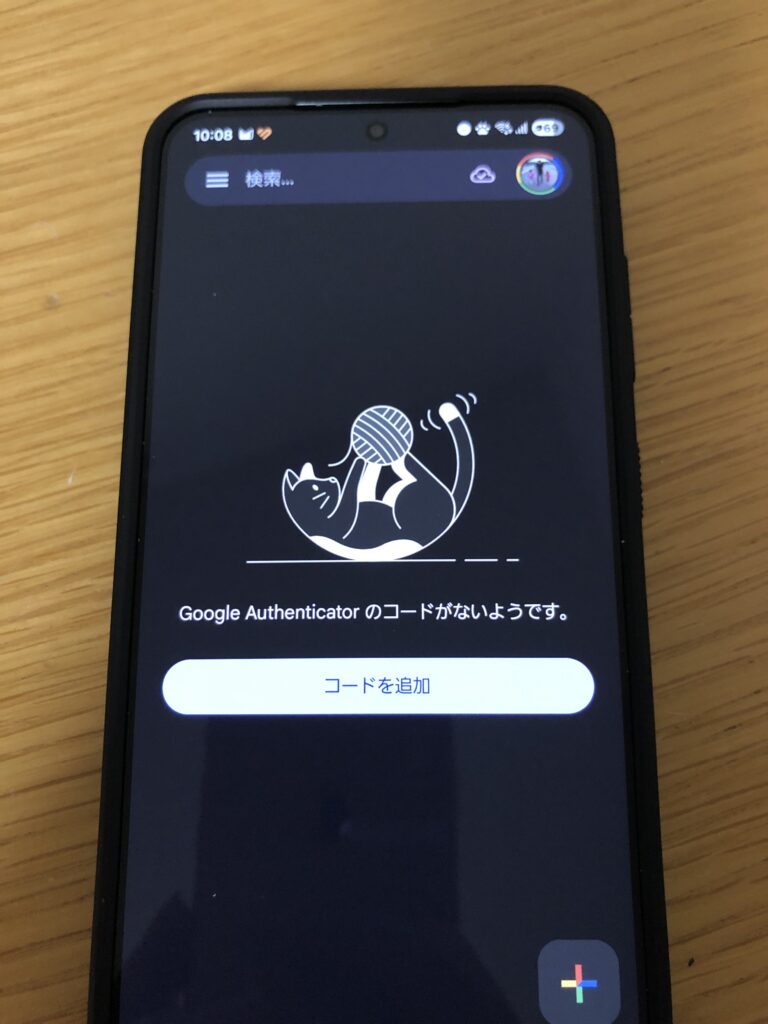
1:Google Authenticatorアプリの設定を開く
Google Authenticatorは画面キャプチャができないので、画面を撮影しているのであしからず。
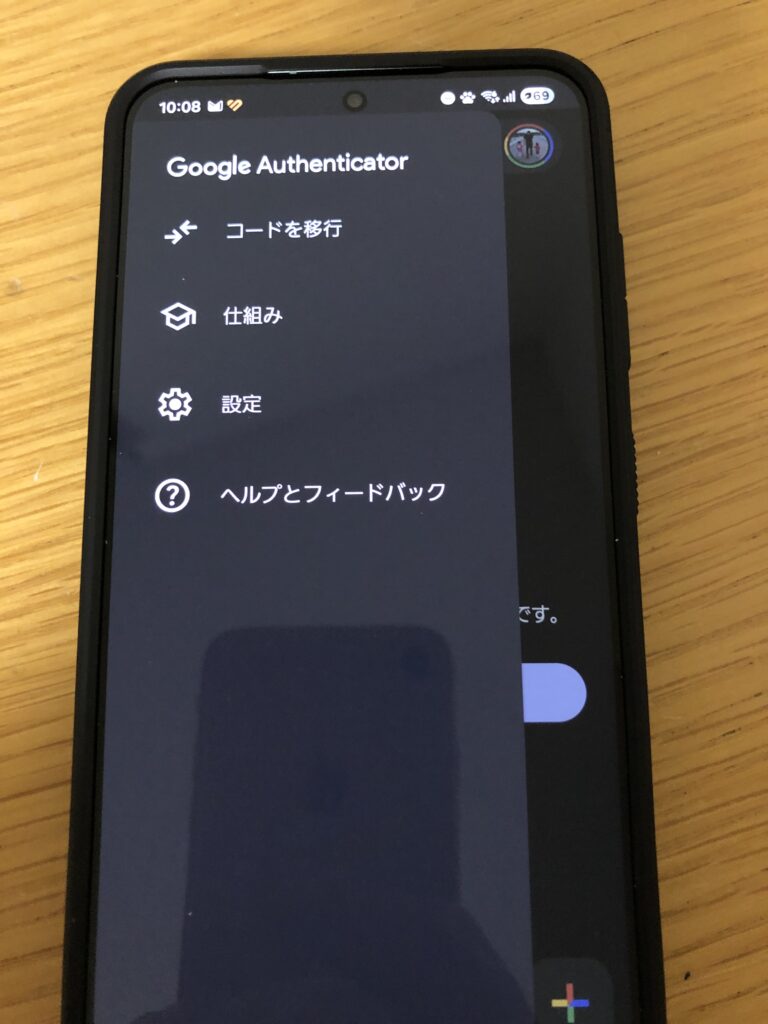
2:左上の三から「コードを移行」を開く
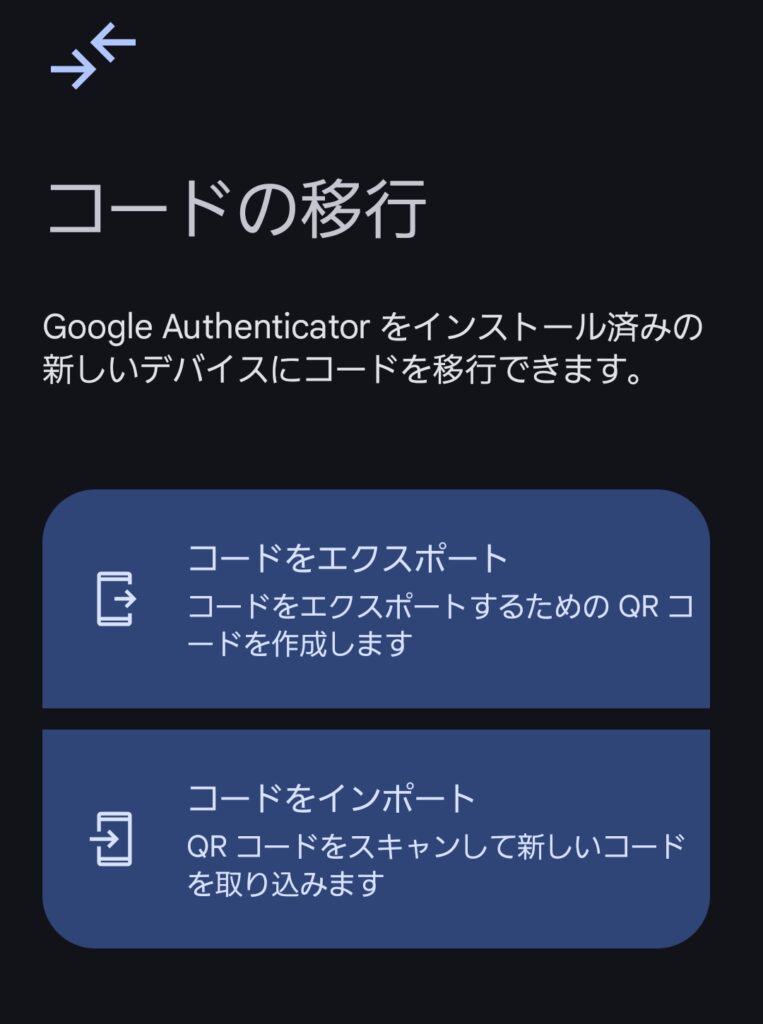
3:コードをエクスポートを開く
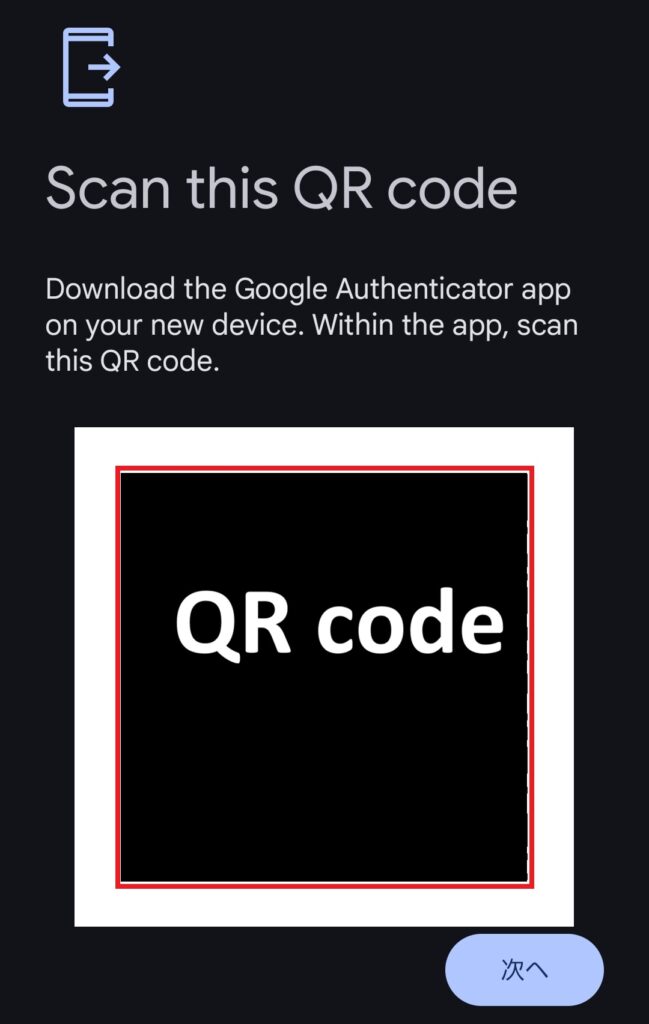
4:エクスポートしたい2要素を選択しQRコードを保存する
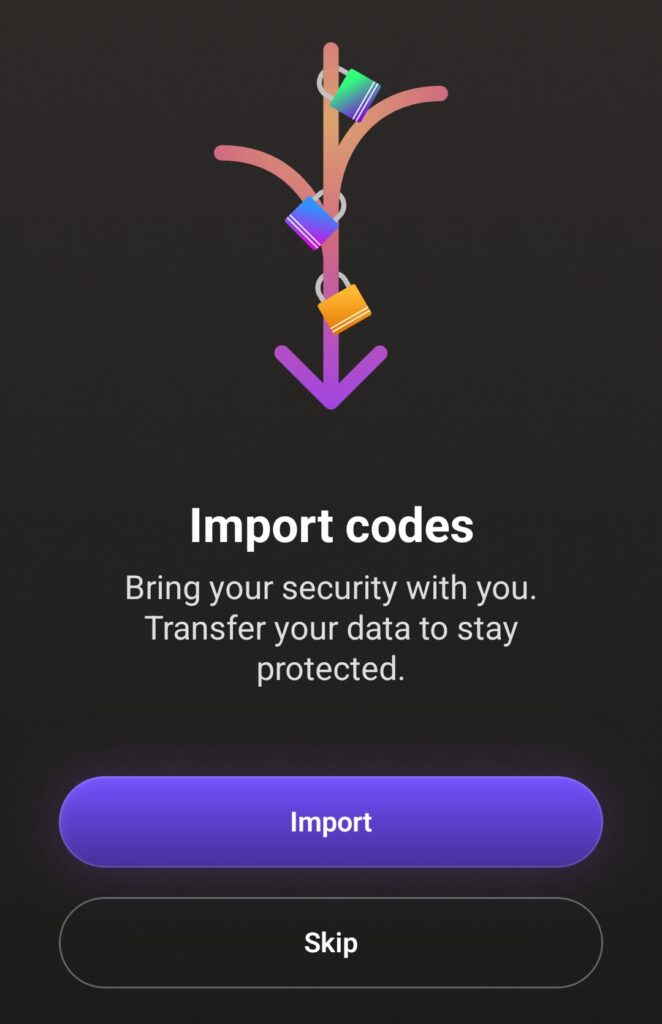
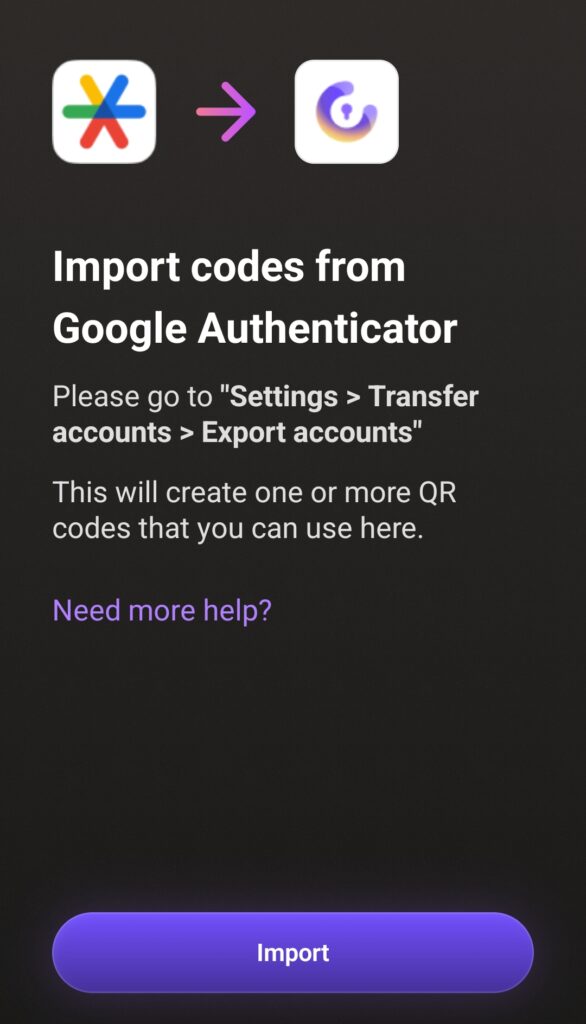
5:Proton Authenticatorアプリを開き「Get Started」を開く

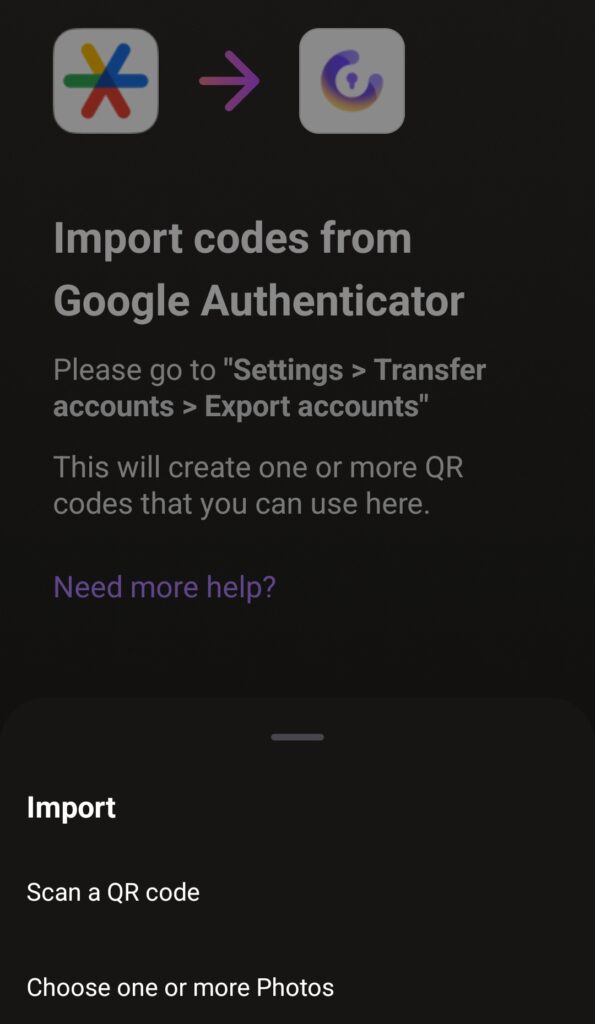
6:「Import」を開く
7-1:「Scan a QR code」を開く
7-2:4で保存したGoogle AuthenticatorのQRを読み取る

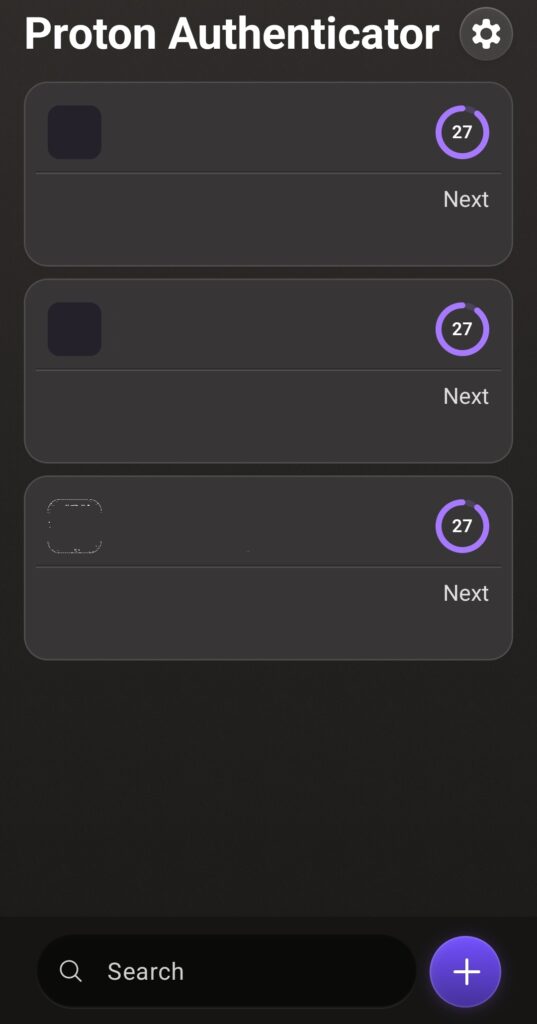
7-3:QRコードでのインポートは完了
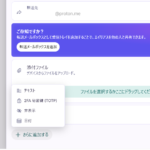
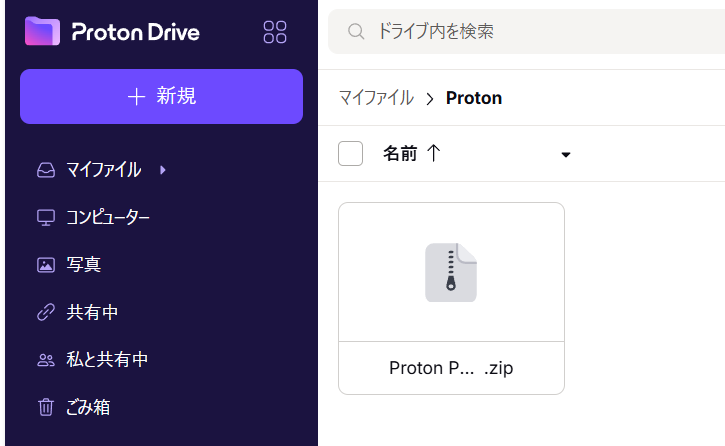
8-1:Proton Passのデータをエクスポートし、Proton Driveに格納
私はパスワード関係はすべてProtonに格納しているので、Proton Driveとしたがどのサービスでもよい。
本体にエクスポートデータをダウンロードしてもよい。
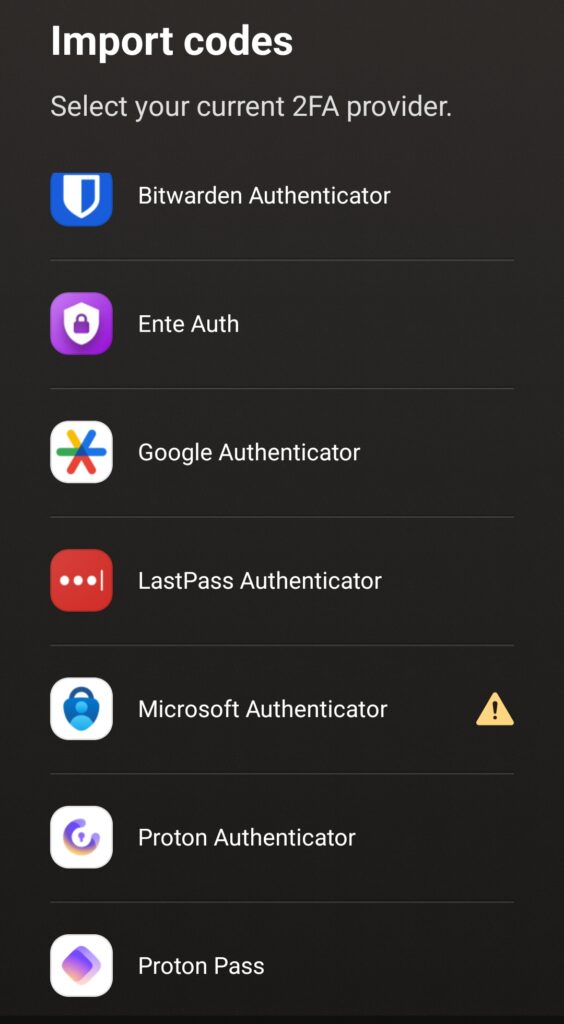
8-2:「Import Code」を開く
8-3:Proton Passを選択する
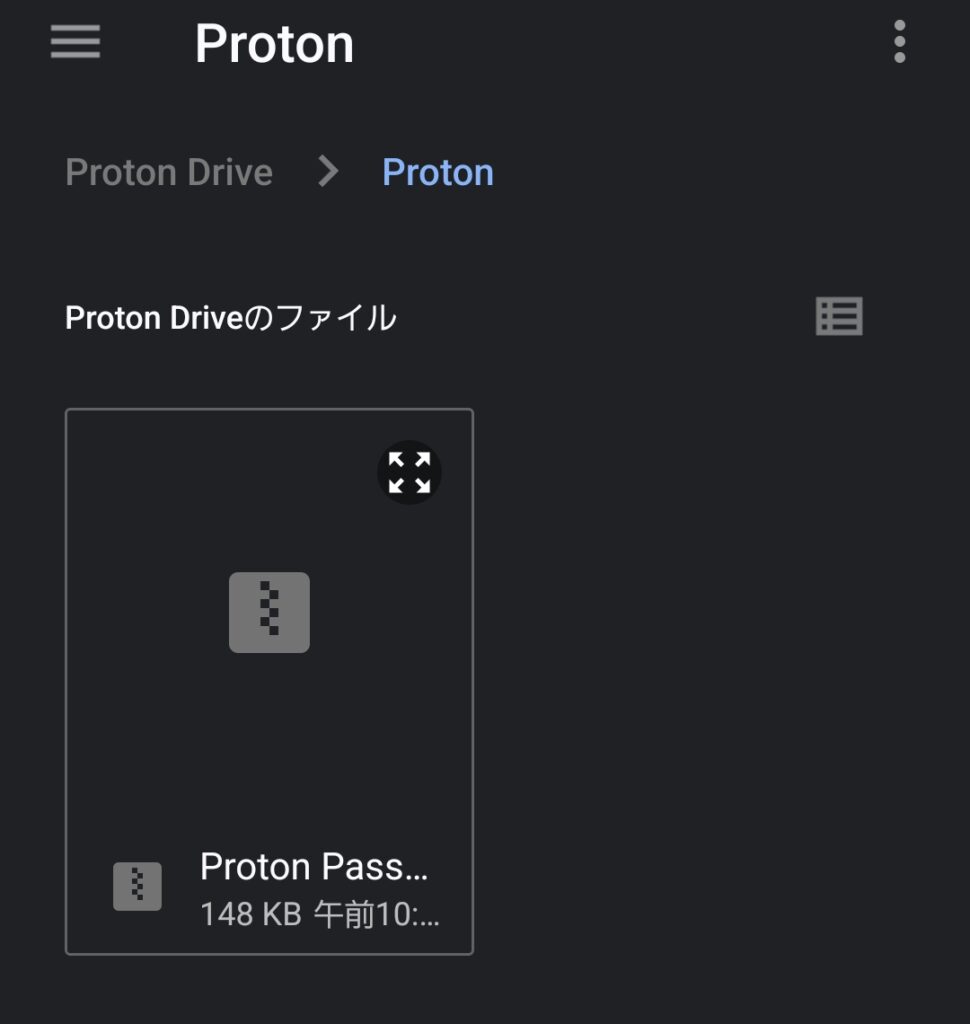
8-4:Proton Driveに格納したProton Passのデータをインポート
Proton Authenticatorへ切り替えできるもの
Proton Authenticatorの利用にProtonアカウントは不要
Protonサービスの中で、アカウントの作成が不要で利用できるので、Googleのように事前に個人情報の提供する必要がないのがうれしい。